Navigating the World of Minecraft with Image Maps: A Comprehensive Guide
Related Articles: Navigating the World of Minecraft with Image Maps: A Comprehensive Guide
Introduction
With enthusiasm, let’s navigate through the intriguing topic related to Navigating the World of Minecraft with Image Maps: A Comprehensive Guide. Let’s weave interesting information and offer fresh perspectives to the readers.
Table of Content
- 1 Related Articles: Navigating the World of Minecraft with Image Maps: A Comprehensive Guide
- 2 Introduction
- 3 Navigating the World of Minecraft with Image Maps: A Comprehensive Guide
- 3.1 Understanding the Essence of Image Maps
- 3.2 The Mechanics of Image Maps
- 3.3 Benefits of Implementing Image Maps
- 3.4 Implementing Image Maps: A Step-by-Step Guide
- 3.5 Frequently Asked Questions About Image Maps
- 3.6 Conclusion: Embracing the Power of Image Maps
- 4 Closure
Navigating the World of Minecraft with Image Maps: A Comprehensive Guide

Minecraft, the sandbox video game renowned for its creative freedom and vast virtual landscapes, has always encouraged players to express themselves through building, exploring, and crafting. However, navigating these sprawling worlds can sometimes be challenging, especially when intricate structures and complex layouts are involved. Enter image maps, a powerful tool that revolutionizes the way players interact with their Minecraft creations.
Understanding the Essence of Image Maps
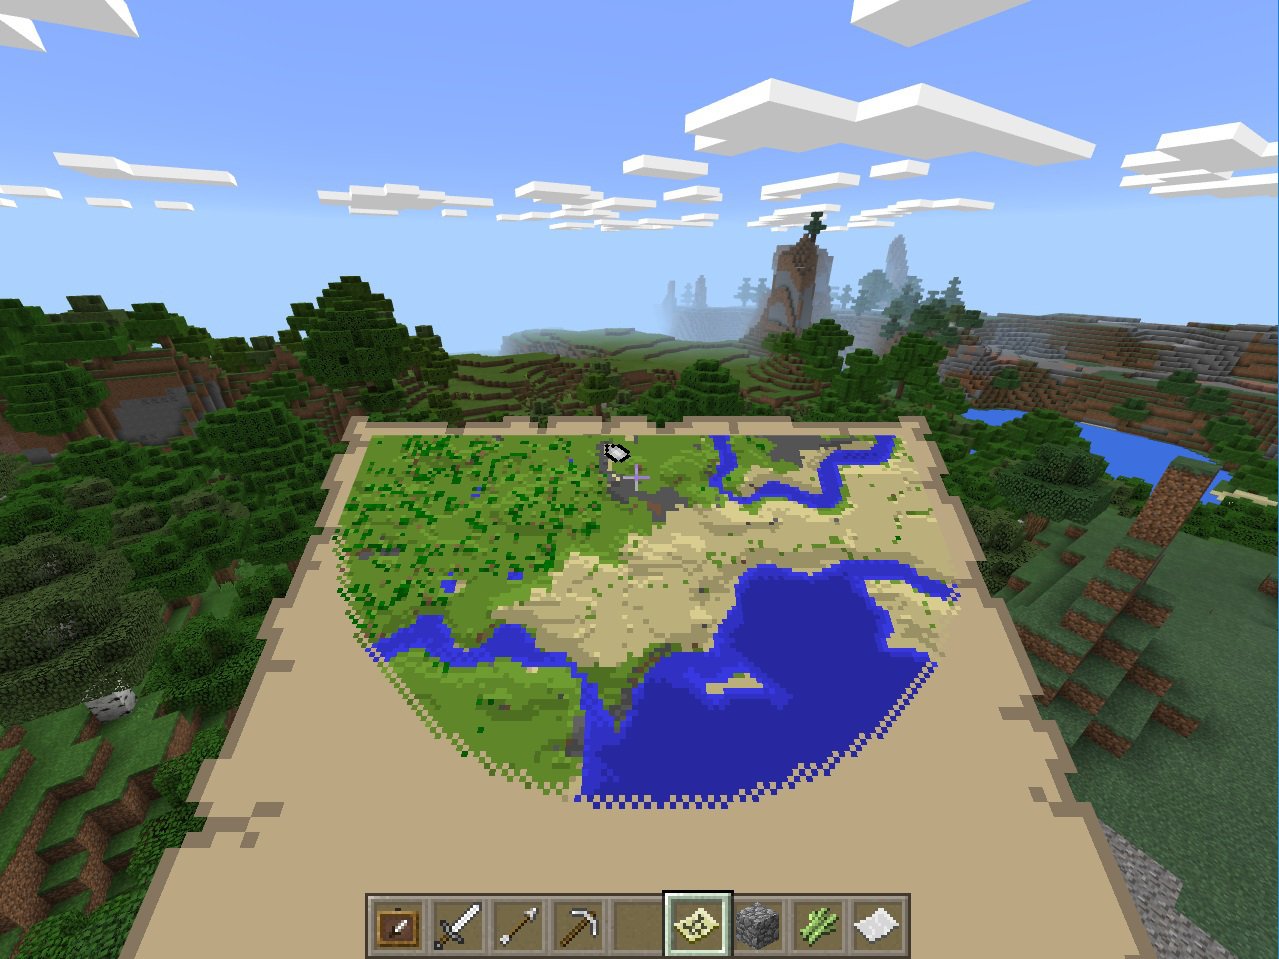
Image maps, in essence, are interactive images that act as portals within the Minecraft world. By clicking on specific areas within an image, players can instantly teleport to designated locations within their builds, simplifying navigation and enhancing the overall player experience.
Imagine a sprawling medieval city with numerous towers, dungeons, and markets. Navigating such a complex structure manually could be time-consuming and tedious. Image maps provide a solution, allowing players to quickly and effortlessly travel between different areas by simply clicking on a visual representation of their destination on an image.
The Mechanics of Image Maps
Image maps in Minecraft are implemented through the use of command blocks and resource packs. A resource pack is a collection of files that modify the game’s appearance and functionality. In this context, the resource pack includes the image that will serve as the map and the necessary code to make it interactive.
The command blocks, on the other hand, are responsible for executing the teleportation commands based on the player’s clicks on the image. This process involves defining specific coordinates for each location within the image and linking them to corresponding teleport commands within the command blocks.
Benefits of Implementing Image Maps
The advantages of image maps in Minecraft extend beyond simply simplifying navigation. Their implementation offers numerous benefits that enhance the overall gaming experience:
- Enhanced User Interface: Image maps transform the user interface, providing a visually appealing and intuitive way to interact with the game world. This is particularly beneficial for complex builds with multiple interconnected areas.
- Improved Accessibility: For players with motor impairments or limited mobility, image maps offer a more accessible way to navigate large and intricate structures.
- Enhanced Storytelling: Image maps can be effectively used to create interactive narratives within Minecraft. By strategically placing images and linking them to specific locations, players can be guided through a story, uncovering secrets and experiencing events in a more immersive way.
- Creative Expression: The use of image maps extends the boundaries of creativity in Minecraft. Players can design custom maps, incorporating their own artistic vision and personal style, adding a unique touch to their builds.
Implementing Image Maps: A Step-by-Step Guide
Creating and implementing image maps in Minecraft requires a basic understanding of command blocks and resource packs. While the process may appear complex, it can be broken down into manageable steps:
- Creating the Image: The first step involves designing the image that will serve as the map. This can be a simple diagram or a detailed illustration, depending on the complexity of the structure being mapped. The image should clearly represent the different areas within the build, with each location easily identifiable.
- Preparing the Resource Pack: Once the image is ready, it needs to be incorporated into a resource pack. This involves creating a new resource pack folder and adding the image file to the appropriate directory.
- Defining Coordinates: The next step involves defining the coordinates for each location within the image. This can be done by using the F3 debug screen in-game to identify the exact coordinates of each area that needs to be mapped.
- Setting Up Command Blocks: Command blocks are used to execute the teleportation commands. Each location on the image requires a dedicated command block, which is programmed to teleport the player to the corresponding coordinates when the player clicks on that specific area.
- Linking the Image and Command Blocks: Finally, the image and command blocks need to be linked. This involves using specific commands within the resource pack to define the clickable areas within the image and associate them with the corresponding command blocks.
Frequently Asked Questions About Image Maps
Q: What are the limitations of image maps in Minecraft?
A: While image maps offer numerous advantages, they do have some limitations. The most significant limitation is that they rely on resource packs, which may not be compatible with all versions of Minecraft. Additionally, the process of creating and implementing image maps can be technically challenging for beginners.
Q: Can image maps be used in multiplayer games?
A: Yes, image maps can be used in multiplayer games. However, all players need to have the same resource pack installed for the image map to function correctly.
Q: Are there any pre-made image maps available?
A: While there are no official pre-made image maps, numerous online communities and websites offer downloadable resource packs that include pre-configured image maps for various structures and builds.
Q: What are some tips for creating effective image maps?
A: Here are some tips for creating effective image maps:
- Keep it simple: Avoid overly complex images that can be confusing for players.
- Use clear and concise labels: Label each location on the image with clear and easy-to-understand text.
- Test thoroughly: Before using the image map in-game, thoroughly test it to ensure all locations are linked correctly.
- Consider accessibility: When designing the image, keep accessibility in mind. Ensure that the image is easy to navigate and understand for all players.
Conclusion: Embracing the Power of Image Maps
Image maps represent a powerful tool in the Minecraft landscape, offering players a streamlined and intuitive way to navigate complex structures, enhance storytelling, and express their creativity. While the process of implementing image maps may require some technical knowledge, the benefits they offer far outweigh the effort involved. By embracing this innovative tool, Minecraft players can elevate their gameplay experience, unlocking new possibilities for exploration, creativity, and storytelling.


Closure
Thus, we hope this article has provided valuable insights into Navigating the World of Minecraft with Image Maps: A Comprehensive Guide. We hope you find this article informative and beneficial. See you in our next article!